Tailwind | October 14, 2024 | 3 mins read
Add Google Fonts in TailwindCSS (React/NextJS)
Your website needs a better look than basic system fonts. Elevate your design by adding custom fonts with Google Fonts and give your project a fresh, modern feel

The basic fonts we have when we start a react or next.js project are not enough, they honestly feel like they came straight out of a copy of Microsoft Word 2003 but that’s a discussion for another day
Step 1: Find a font
Google Fonts have some cool fonts, my personal go-to is Poppins. You can use if you’d like to or you can be different find one that suites your project. Once you have found and clicked the font you would like, you should see a page that looks like this:

Step 2: Get the font
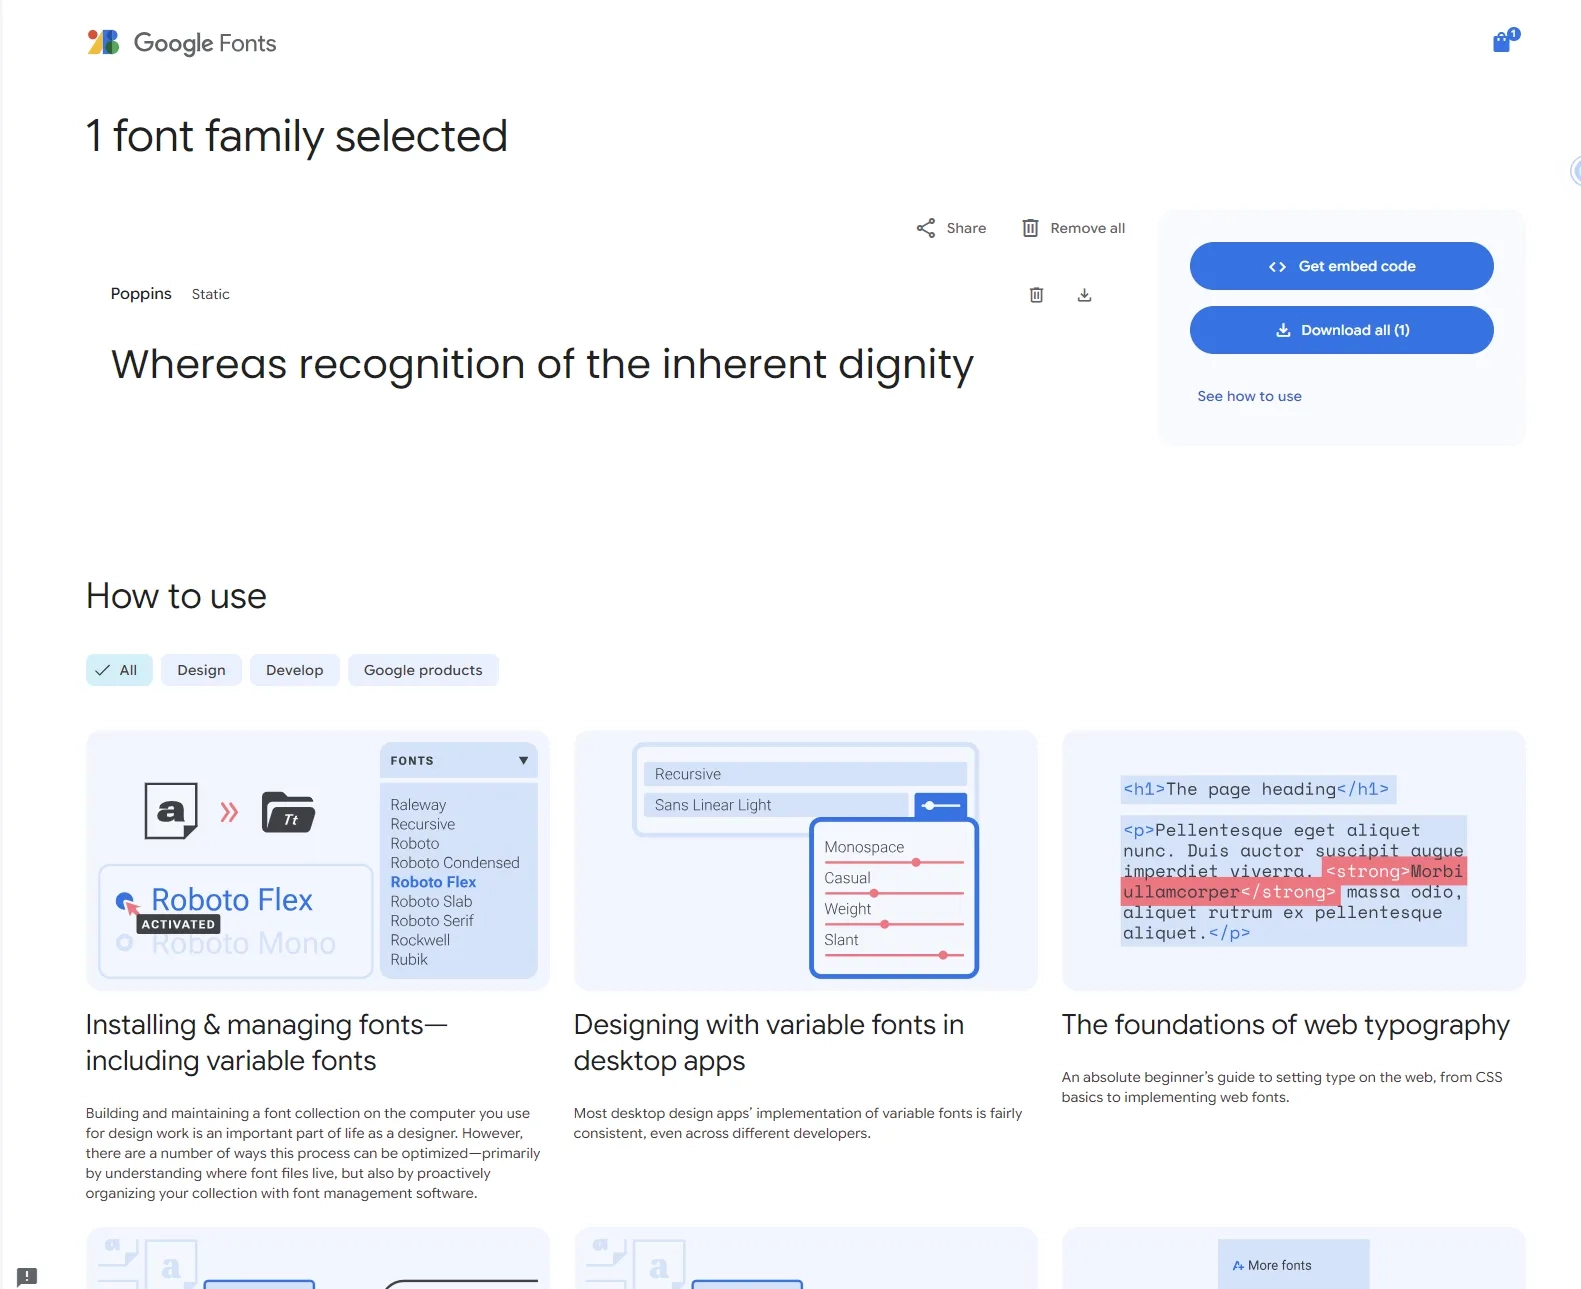
After searching for the right font we need to get the font! This can be done by downloading the font or just using the code provided to use it within our project. To get the font click the big blue button “Get font” and you will directed to your font selection page

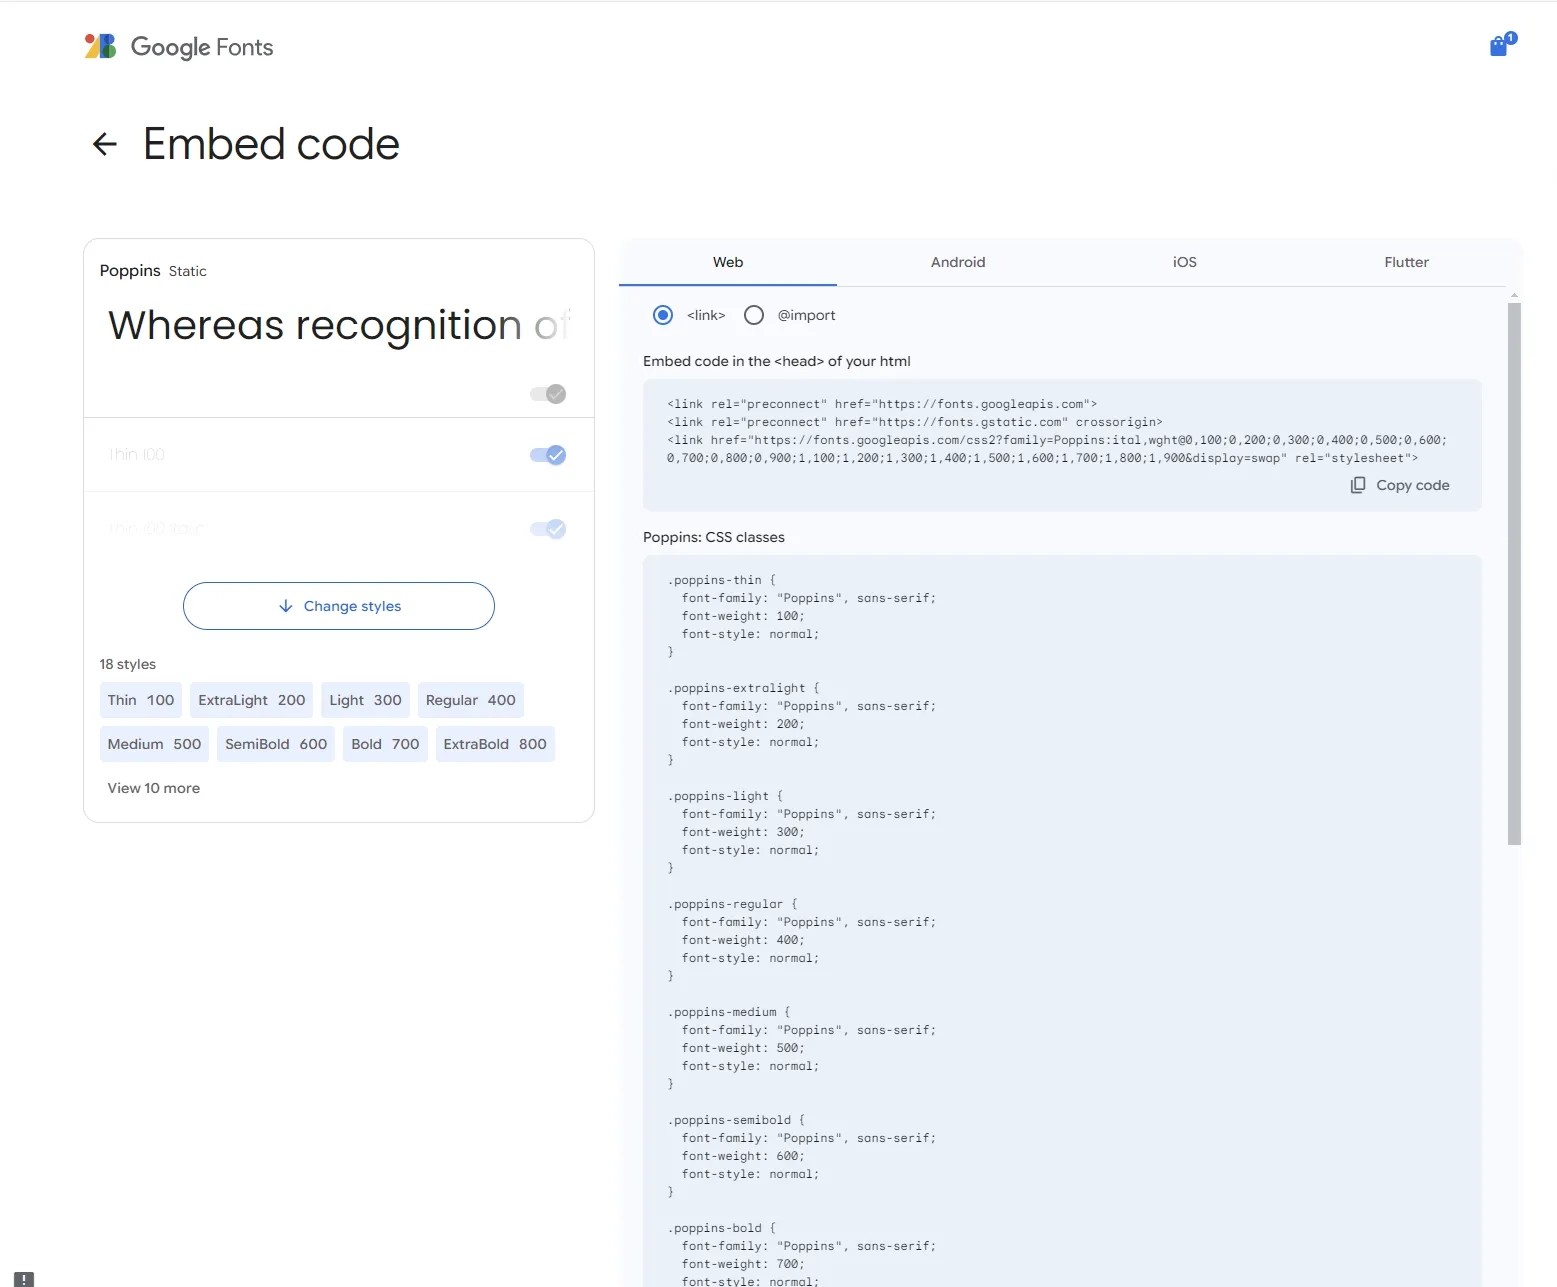
Then click the “Get embed code” button on the right.

Then switch to @import.

Copy the code between the <style> tag
@import url('<https://fonts.googleapis.com/css2?family=Poppins:ital,wght@0,100;0,200;0,300;0,400;0,500;0,600;0,700;0,800;0,900;1,100;1,200;1,300;1,400;1,500;1,600;1,700;1,800;1,900&display=swap>');Step 3: Add the font
Now that we have the code for the font, we need to implement it in our project. I am assuming you already have a React or Next.js project with TailwindCSS installed, if not you can use one of these guides to get that started:
How to create a react.js app with TailwindCSS
How to create a next.js with TailwindCSS
With that out of the way, we will need to access our main stylesheet. In my case that would be global.css and I will add what I got from Google Fonts earlier above the imports for Tailwind.
/* src/styles/global.css */
/* Replace with your font */
@import url('<https://fonts.googleapis.com/css2?family=Poppins:ital,wght@0,100;0,200;0,300;0,400;0,500;0,600;0,700;0,800;0,900;1,100;1,200;1,300;1,400;1,500;1,600;1,700;1,800;1,900&display=swap>');

@tailwind base;
@tailwind components;
@tailwind utilities;
The font has been added, but to call it we can either take the lazier route and call it directly but we will not be doing that around these parts. Go over to your tailwind.config.js and we will be adding it to the fontFamily within extend :
/** @type {import('tailwindcss').Config} */
module.exports = {
  content: [
    "./src/pages/**/*.{js,ts,jsx,tsx,mdx}",
    "./src/components/**/*.{js,ts,jsx,tsx,mdx}",
    "./src/app/**/*.{js,ts,jsx,tsx,mdx}",
  ],
  theme: {
    extend: {
      fontFamily: {
        thefont: ["{your-fonts-name}", "{your-fonts-type}"],
				// poppins: ["Poppins", "sans-serif"],
      },
    },
  },
  plugins: [],
};
In your case you would replace:
- thefont with what every name you would like
- {your-fonts-name} with the name of the font provided by Google Fonts (ex. Poppins)
- {your-fonts-type} with the type of font (ex. serif, sans-serif, etc)
Step 4: Use the font
Now for our final trick we will use the font in our project. Head over to index.js and an <h1> or anything that will allow us to use text and give it the className of the font you have just added.
import React from "react";

export default function test() {
  return (
    <h1 className="font-poppins text-8xl my-10 mx-5">
      This is a font from Google
    </h1>
  );
}
Here is the final result!

Wanna know what goes great with your new font? Your own blog! Learn how to make a blog using Next.js