Vercel | September 29, 2024 | 4 mins read
Connect your domain to Vercel
Your website needs its own "address" so lets give it one. In this tutorial, I will go over where to find a domain, how to add it to your Vercel account and how to connect your domain to your project.

What do google.com and oadev.ca (shameless plug) have in common? Yeah they are both websites with domains. So how do we connect a domain to your website
Step 1: Get a domain
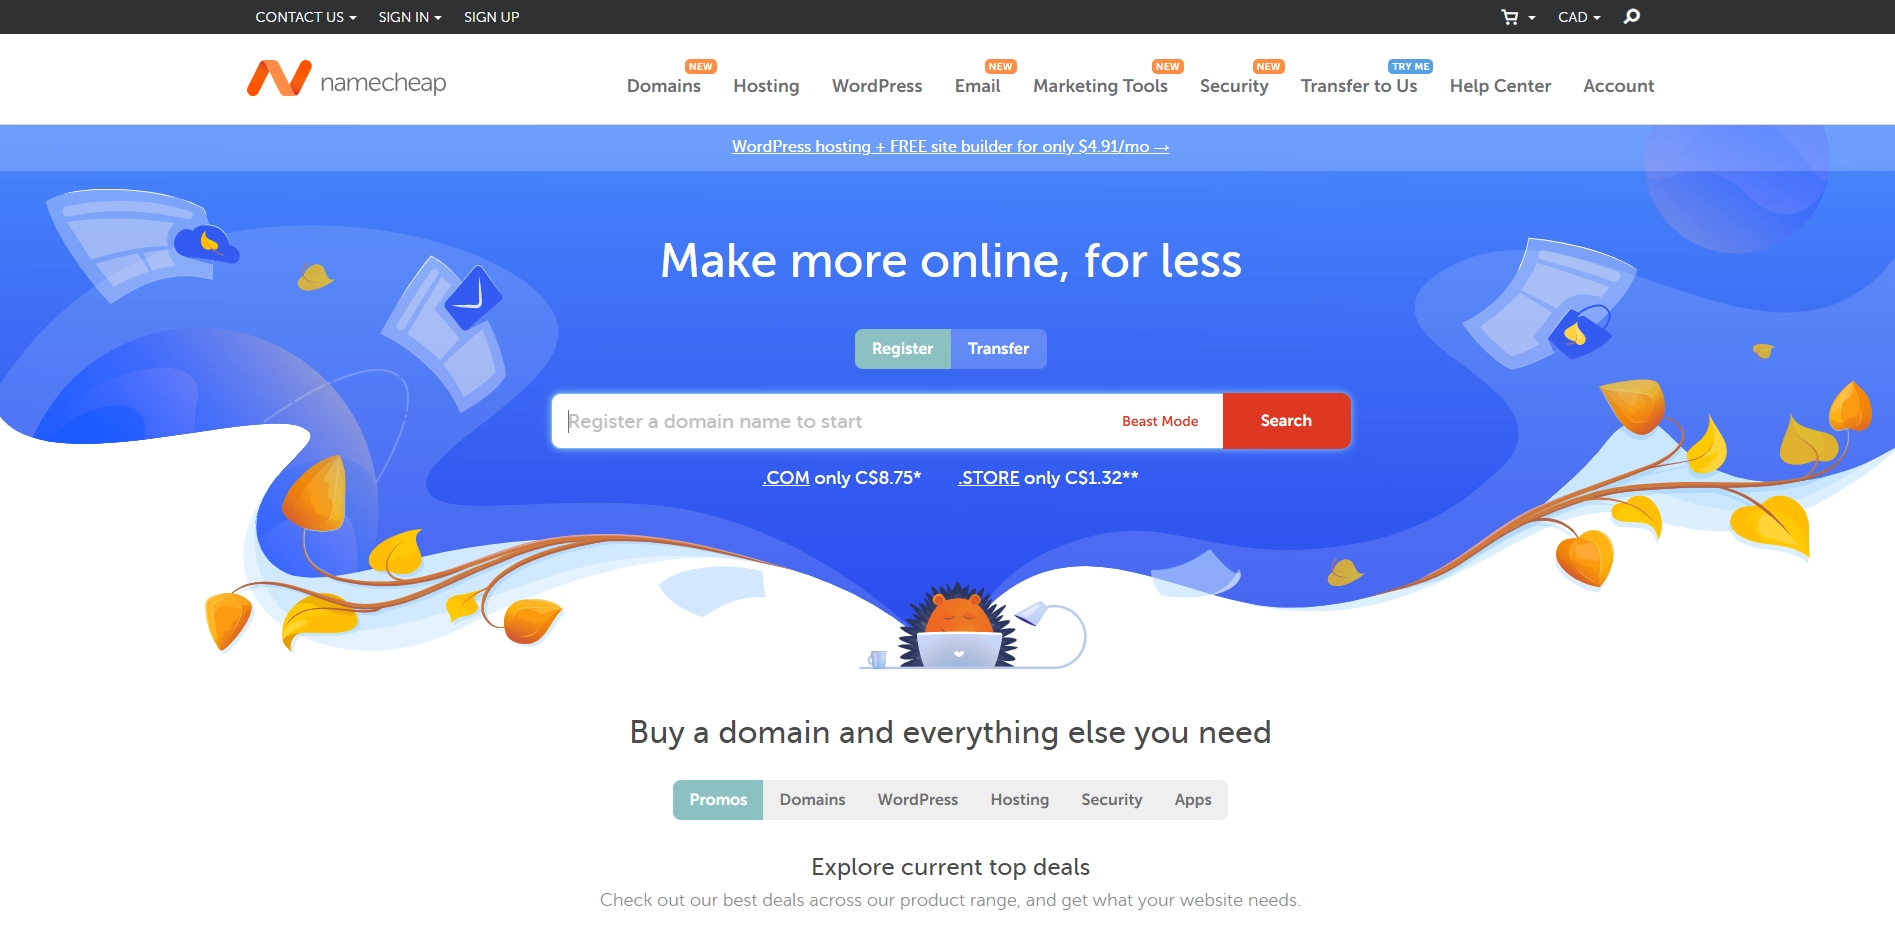
I know sounds obvious but this is how I get my domains. I start with going on Namecheap and searching for the domain that I want.
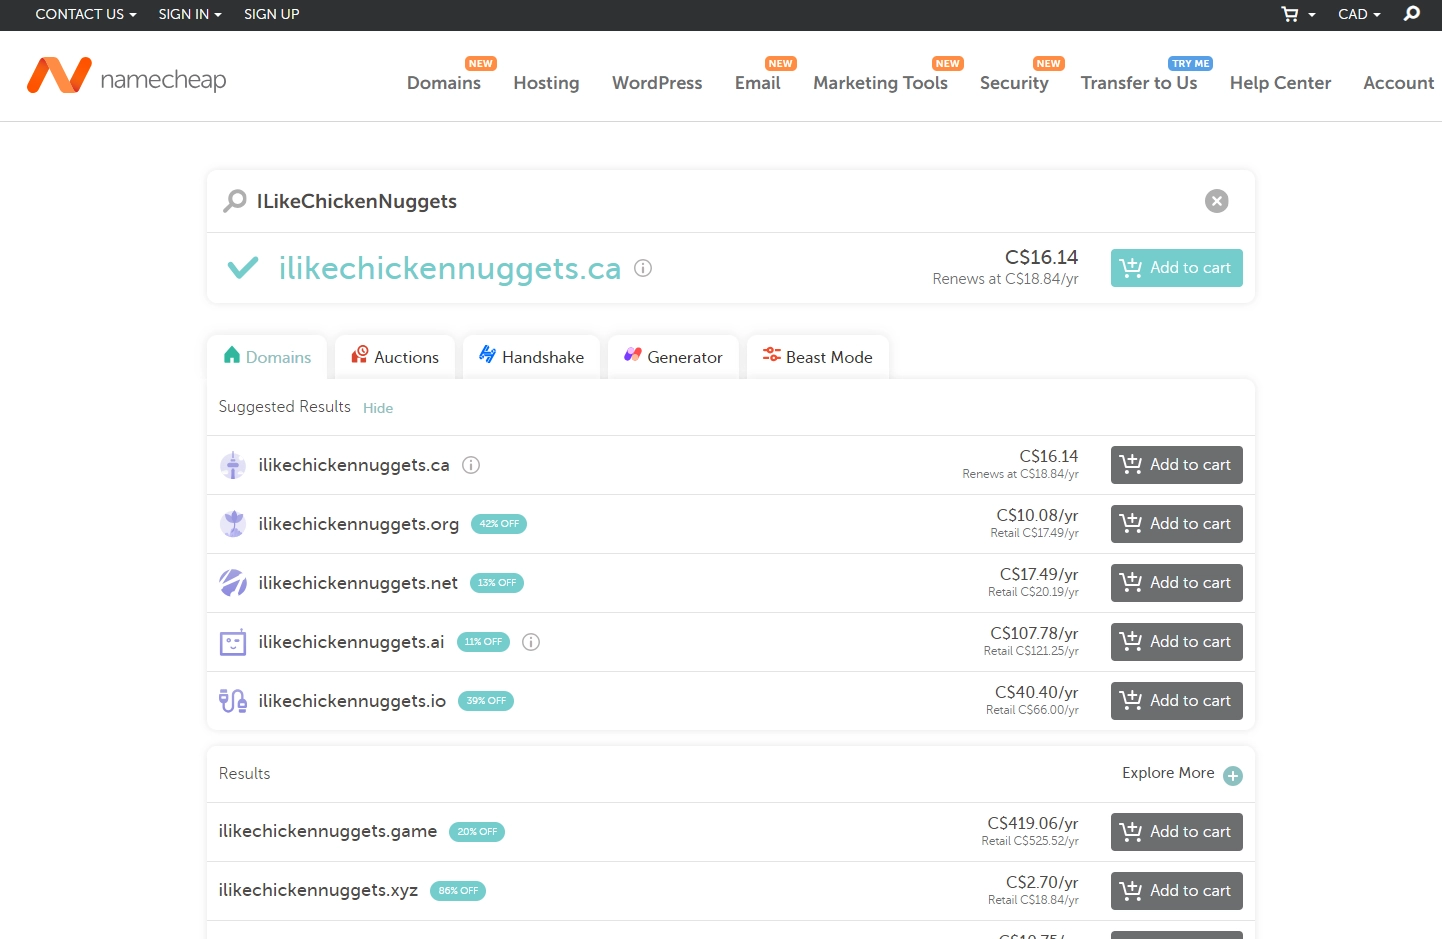
After searching for a domain you will see a page with available domains with changes in the suffix (.ca/.com/etc).
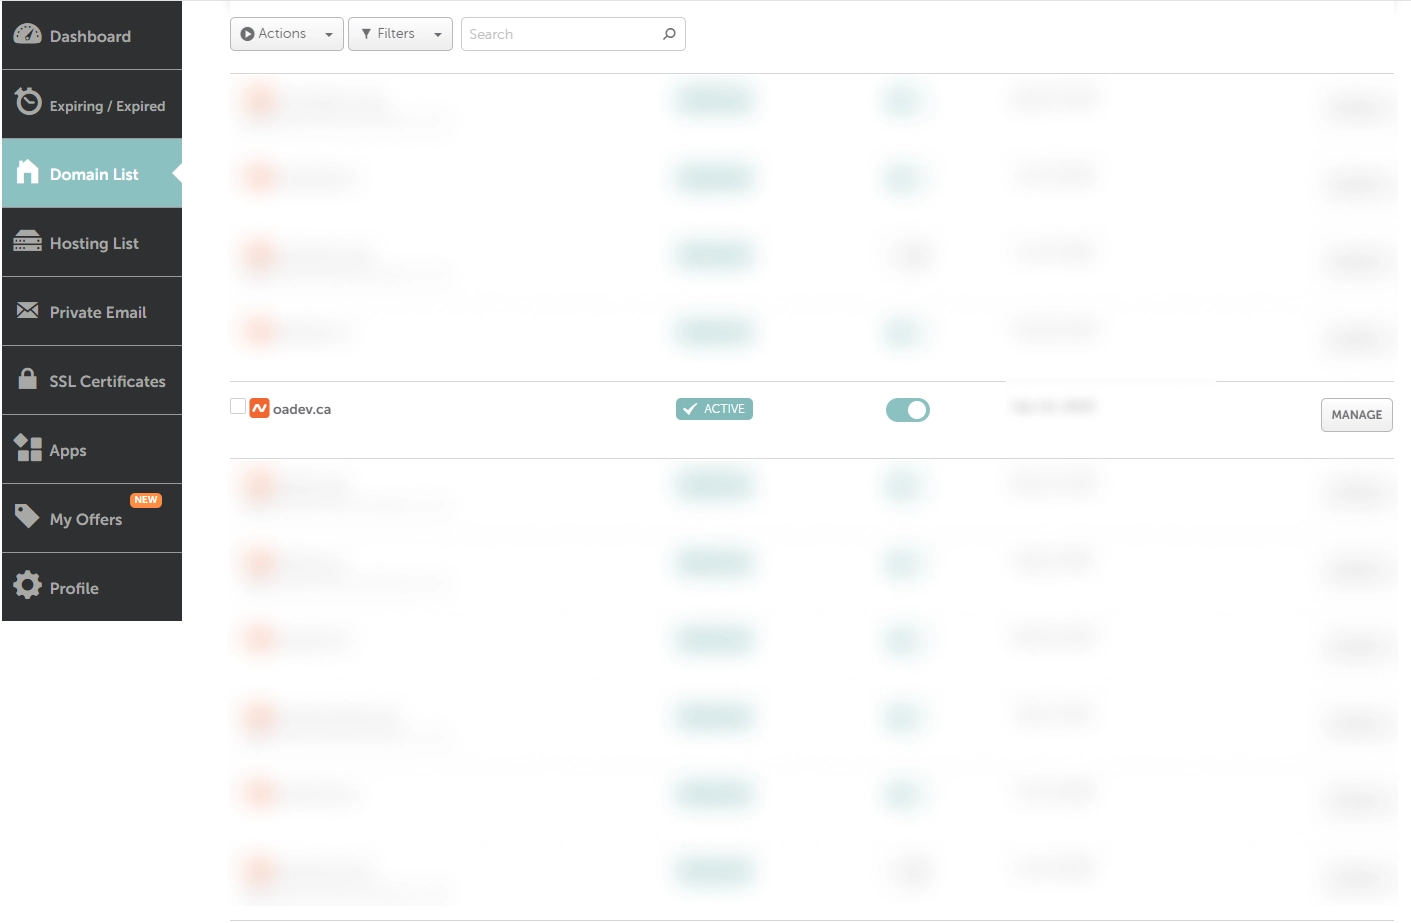
I will not be buying any of those domains... but I will be using my domain (oadev.ca). Once you have created an account and purchased your domain, go to your Dashboard > Domain List. There you will find your domain.
Step 2: Add your domain in Vercel
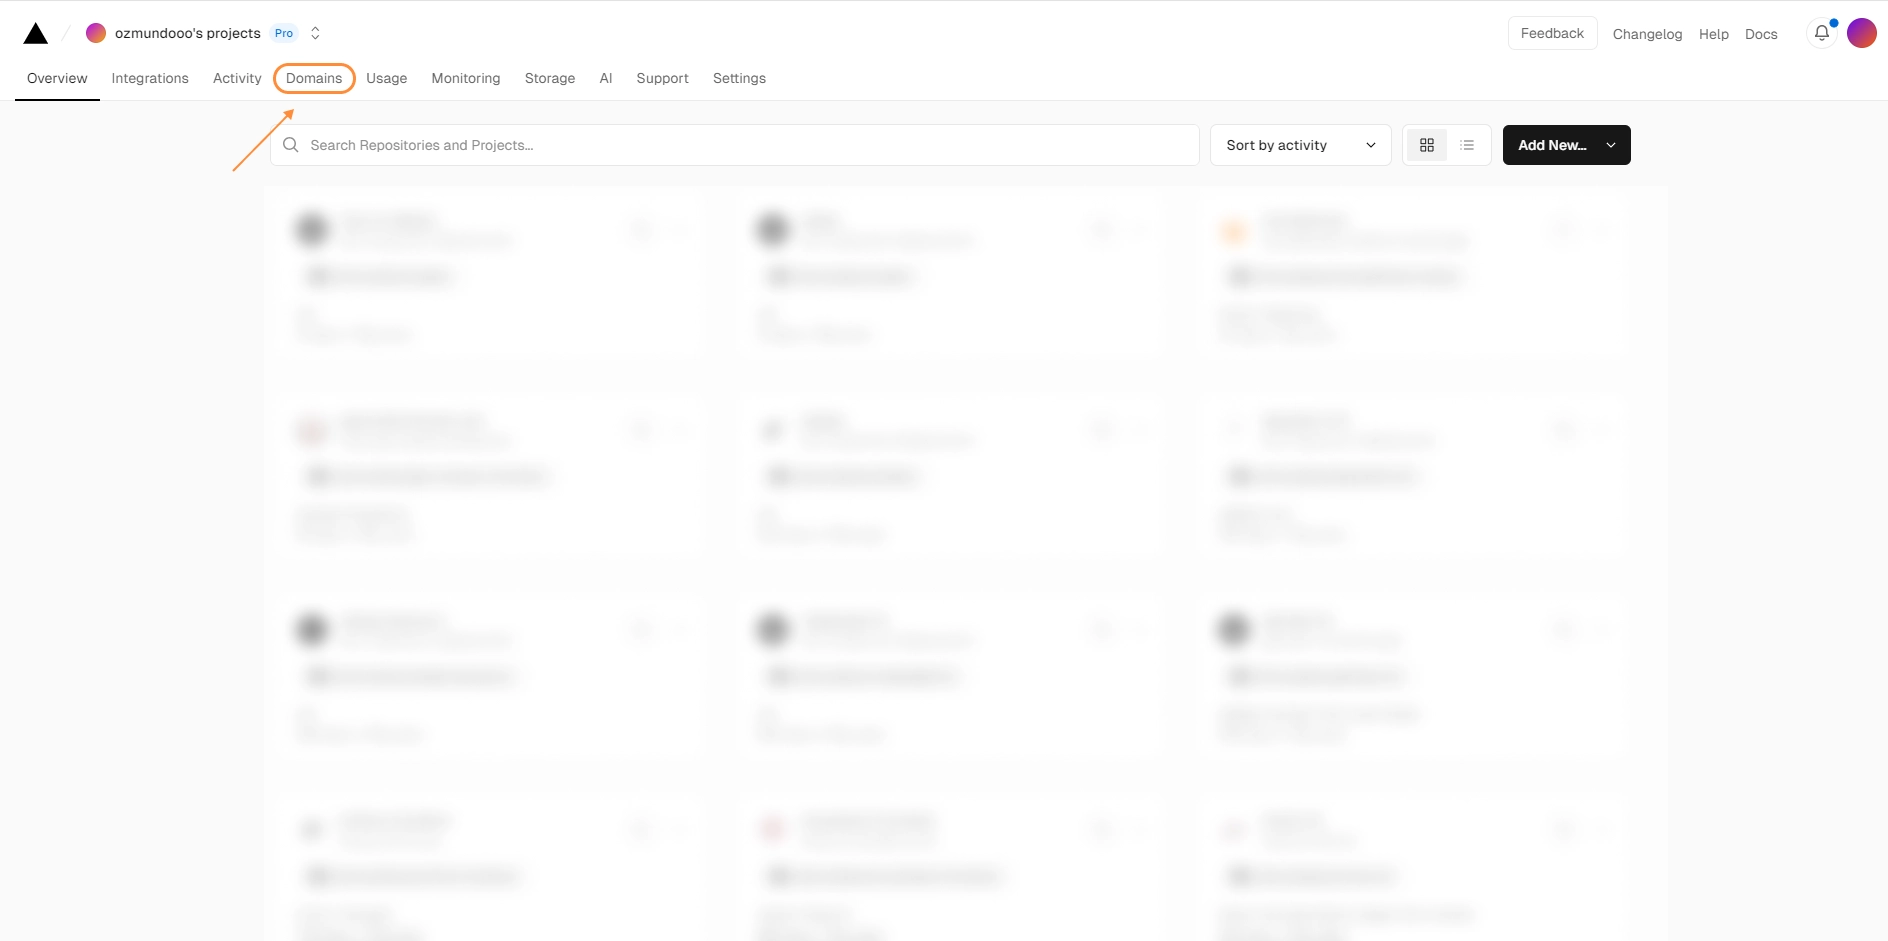
Lets move over to Vercel. Go to your dashboard on Vercel and select the Domain tab
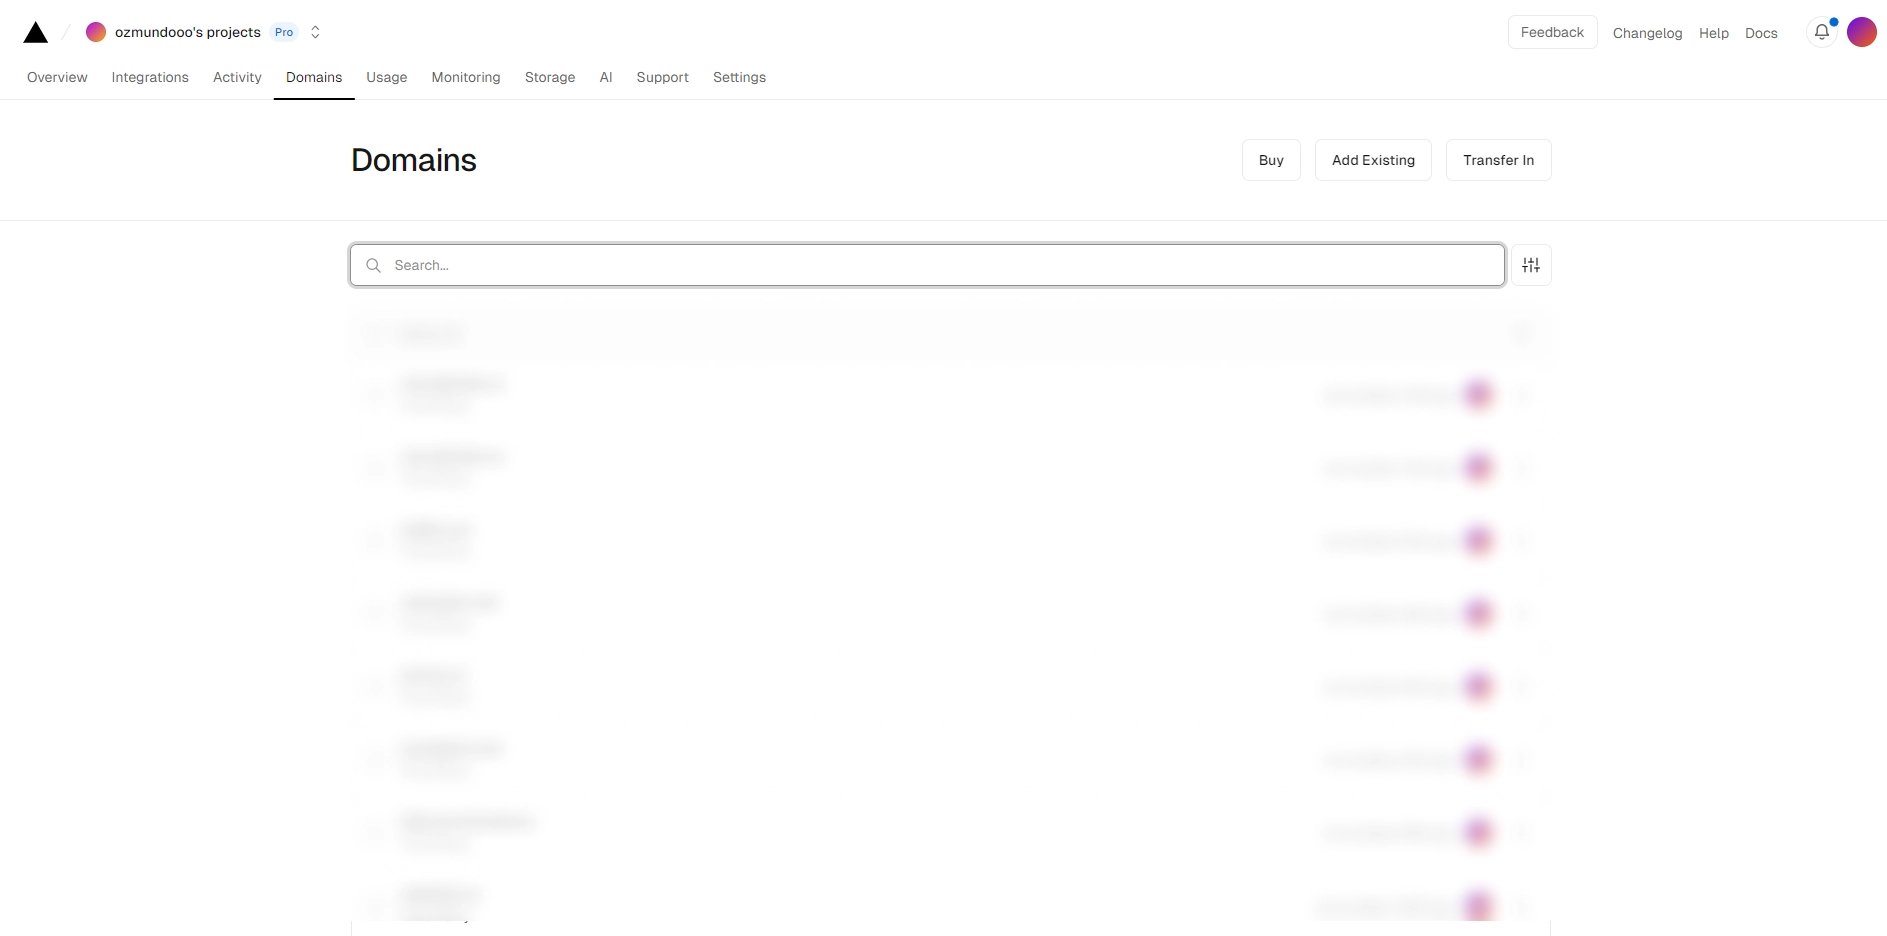
In your domain tab you should be able to see a few options on the right side of "Domains" , select "Add Existing"
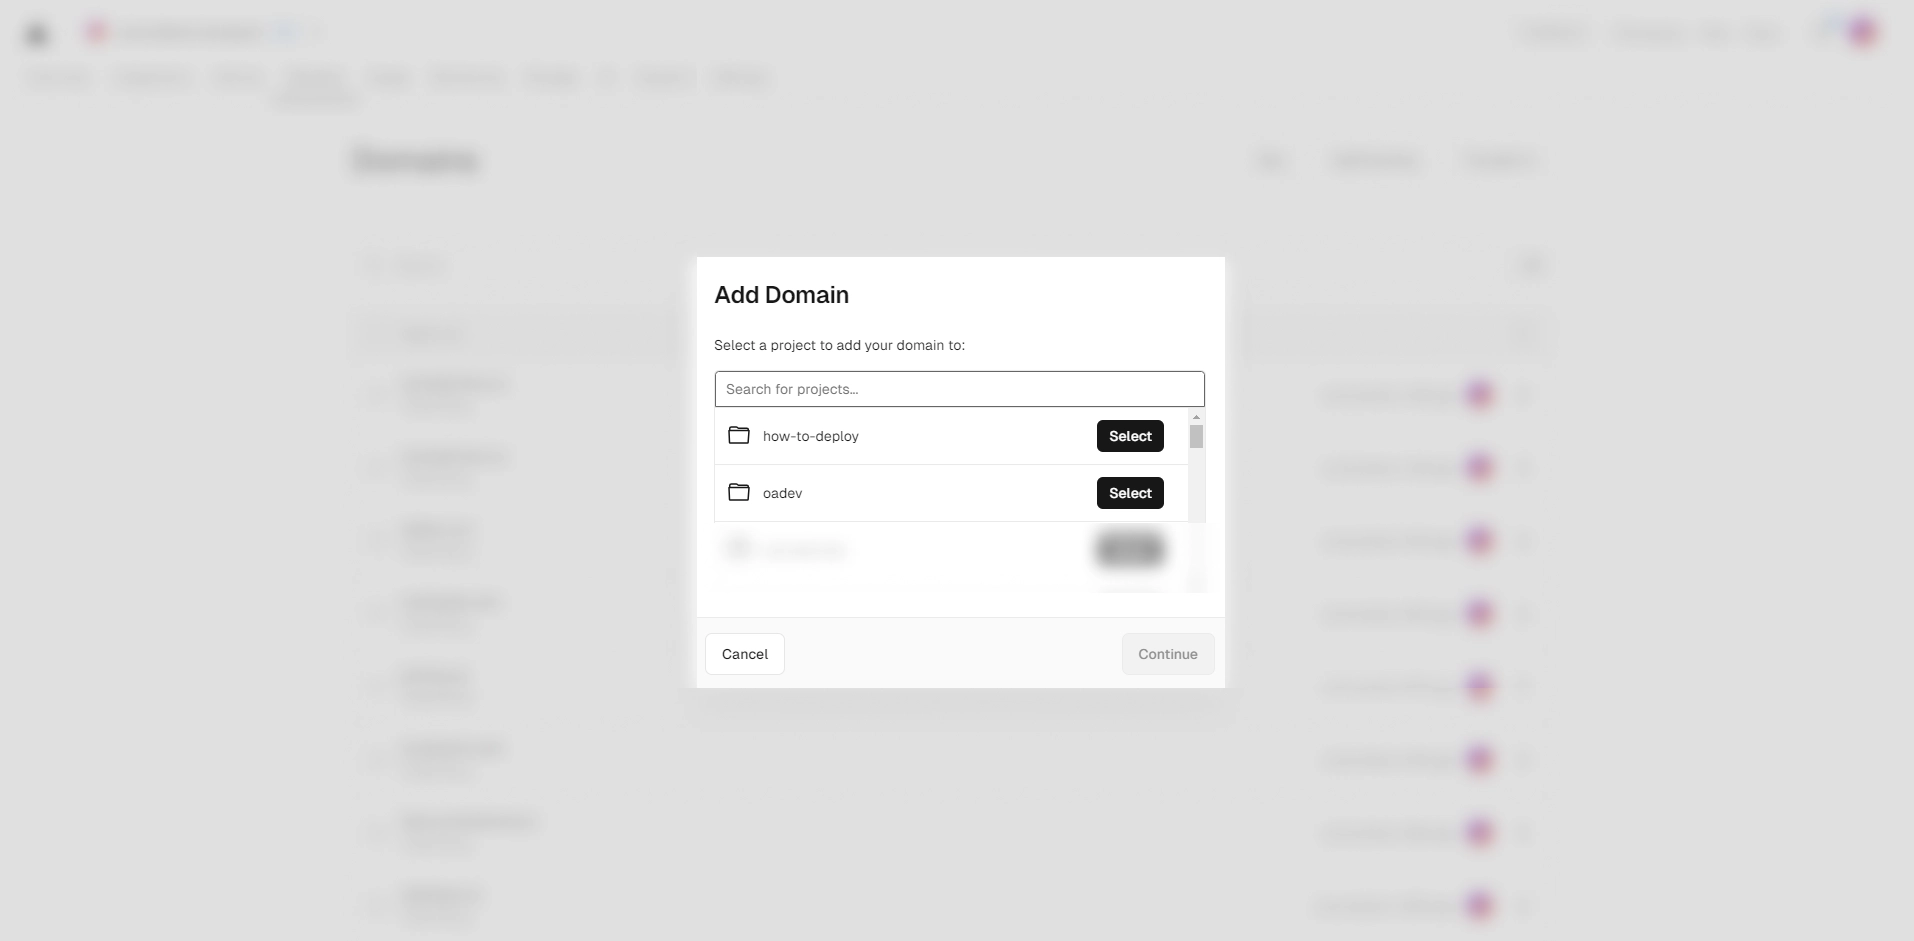
A list of the most recent Vercel projects appears with the option to select which project you would like the add the domain to. Select which project you would like to add your domain to and click Continue.
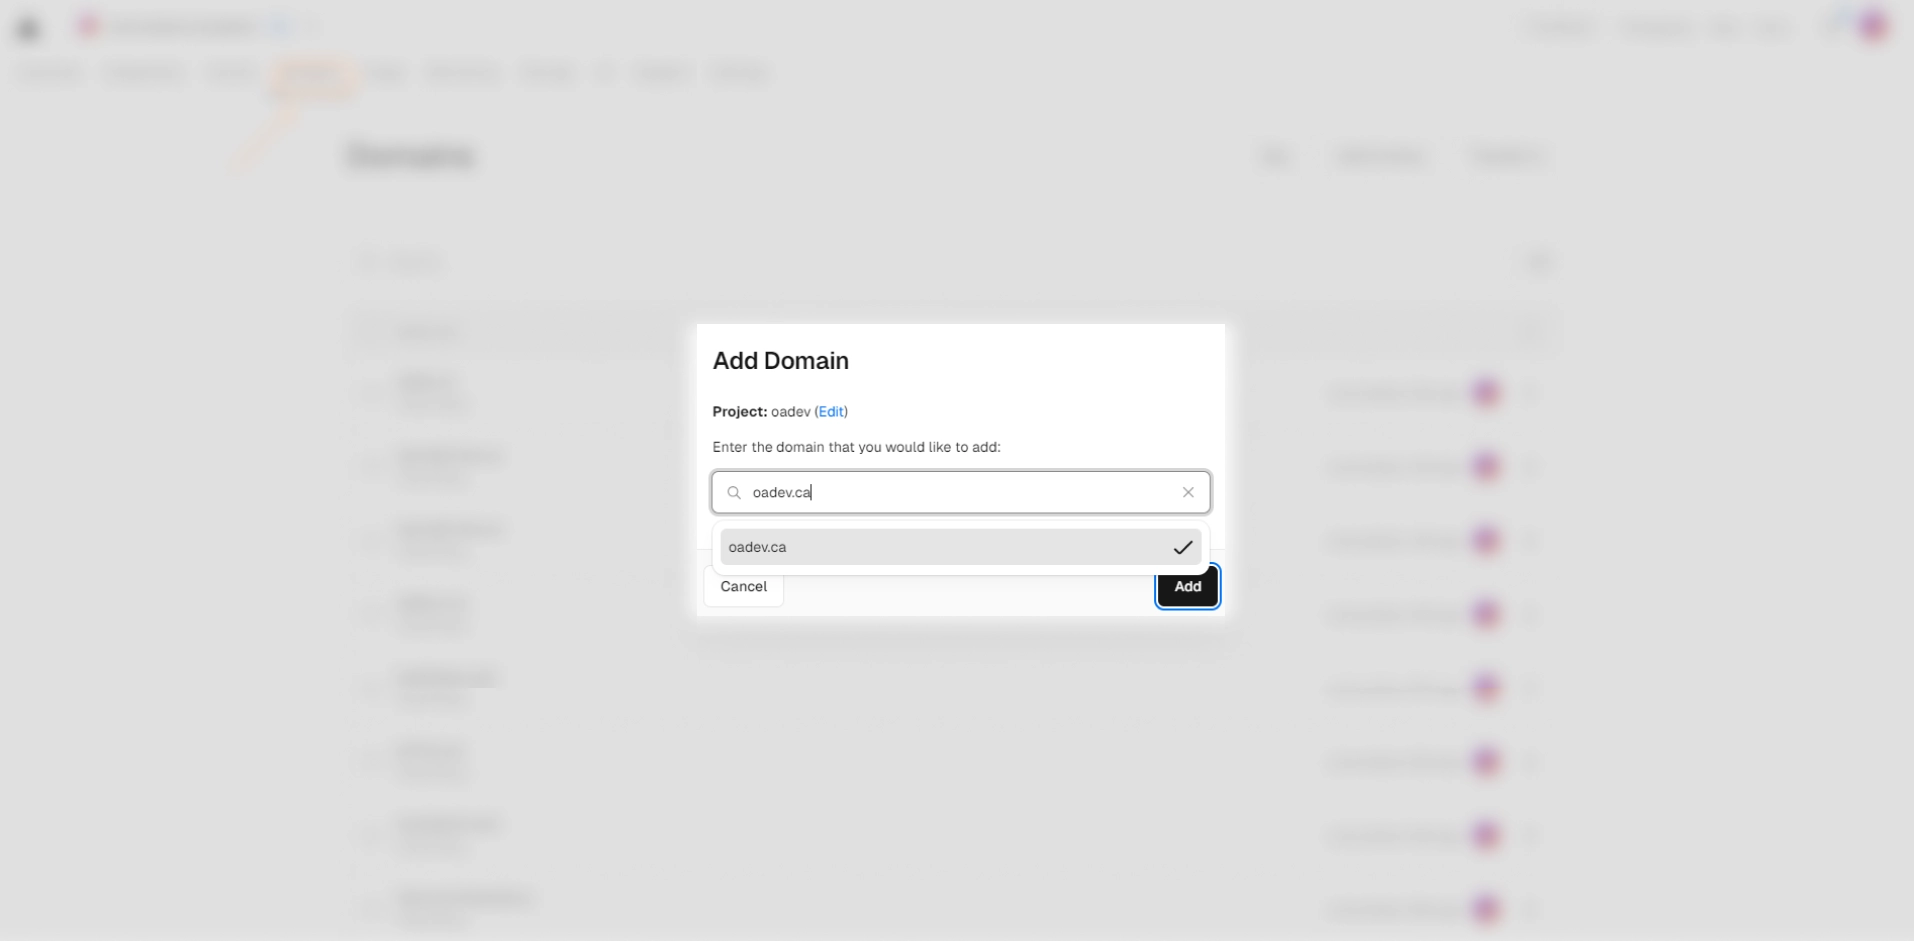
Now you can input your domain, in this case I will be using oadev.ca.
After submitting a domain, you will be send over to the project you have selected with the configuration of your domain.
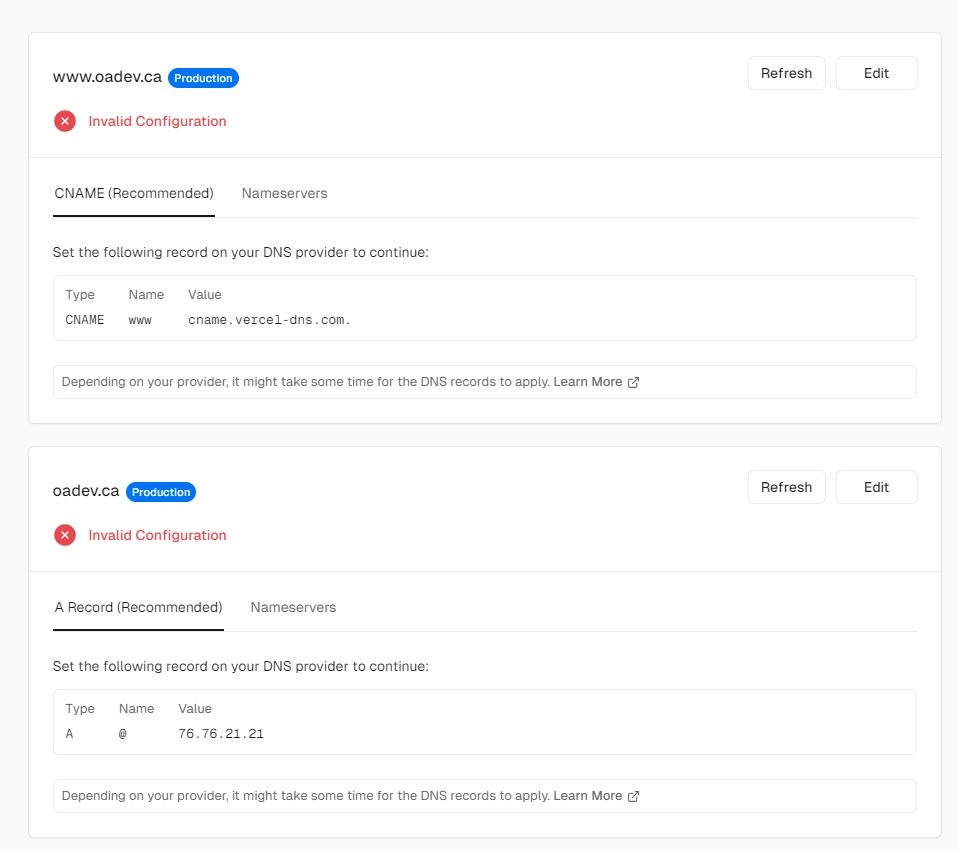
In this case www.oadev.ca is not automatically included in the configuration, to have that happen I will request for it.
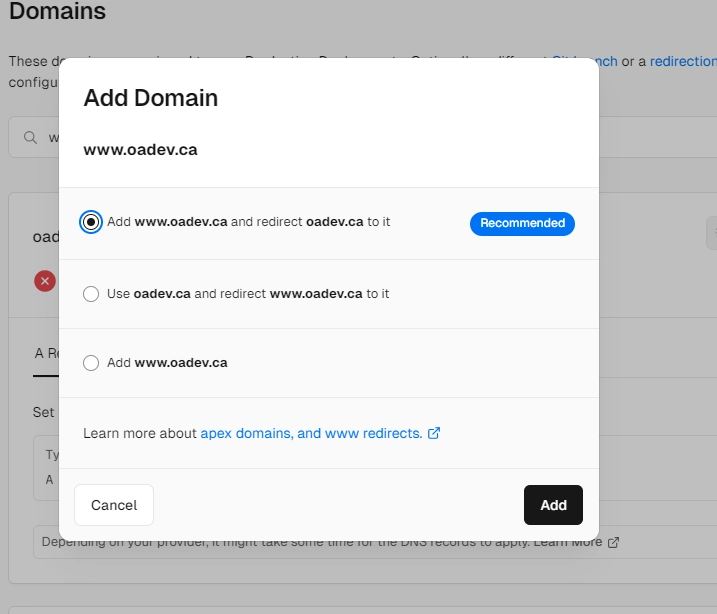
After submitting my domain again, I am prompted to select how it will be used. In this case, I would select "Add www.{domain}.ca and redirect {domain}.ca to it.
Step 3: Configure DNS Settings of your domain
The final step is now to add these records to your DNS records.
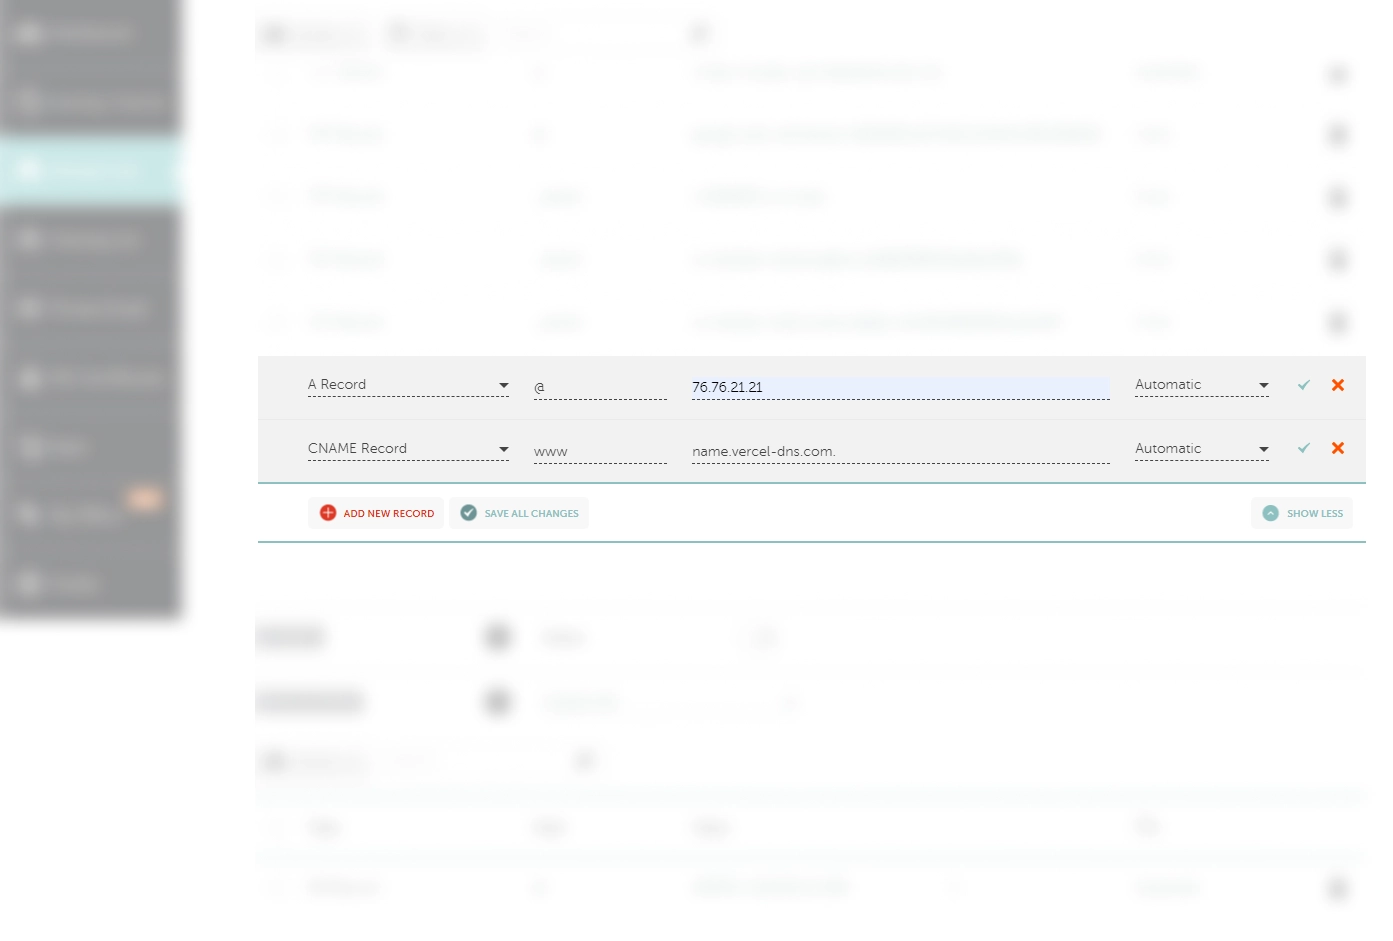
For {domain}.ca:
- Select A Record for the Type
- Input @ for the Host/Name
- Input 76.76.21.21 for the Value
For www.{domain}.ca:
- Select CNAME Record for the Type
- Input www for the Host/Name
- Input cname.vercel-dns.com. for the Value
After you are all done, click the "SAVE ALL CHANGES" button at the bottom.
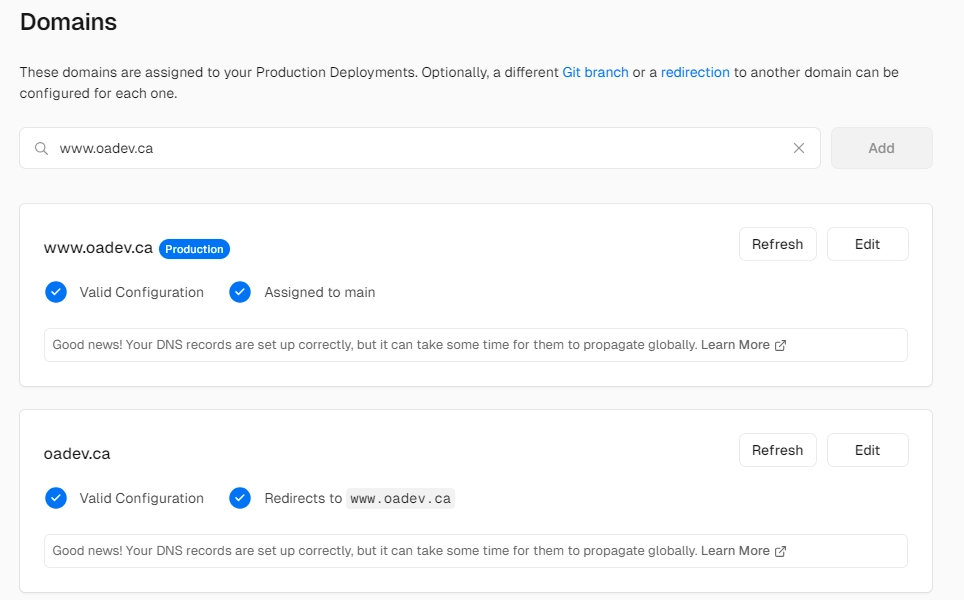
Give it some time (in this case it took 5 mins) and your domain should be connected to your site. If there are any issues, check to ensure the values have inputted correctly from the domain to the DNS changes.