Sanity | October 16, 2024 | 5 mins read
Creating a Blog on Sanity.io
In this tutorial we will be going over how to get started creating a Sanity project, a schema and deployment

What is Sanity.io?
In short, Sanity.io is a cloud-based, open-source content management system that makes it easy to manage, edit, and deliver structured content across different devices. You can also reuse content flexibly across various channels while integrating them smoothly with third-party tools and frontend frameworks. Here we will be using Next.js.
Here’s a simple step-by-step guide on creating a blog using Sanity.io.
Step 1: Setting up Sanity and Creating a project
The first thing you need to do is set up your project on Sanity.io.
Create your or login to your Sanity Account: Head over to Sanity.io, and sign up for a free account if you don’t already have one. If you do just login.
Install the Sanity CLI: Open up your terminal, in this case I will using my Git Bash, and install the Sanity CLI onto your machine.
npm install -g @sanity/cliInitialize your new Sanity Project: Once you have the CLI installed, find or create the folder where you want to setup your Sanity project. Once you have changed to the folder’s directory, in this case it is set to {your-folder} , use sanity init command to start the initializing of your Sanity project:
cd {your-folder}
npm create sanity@latest
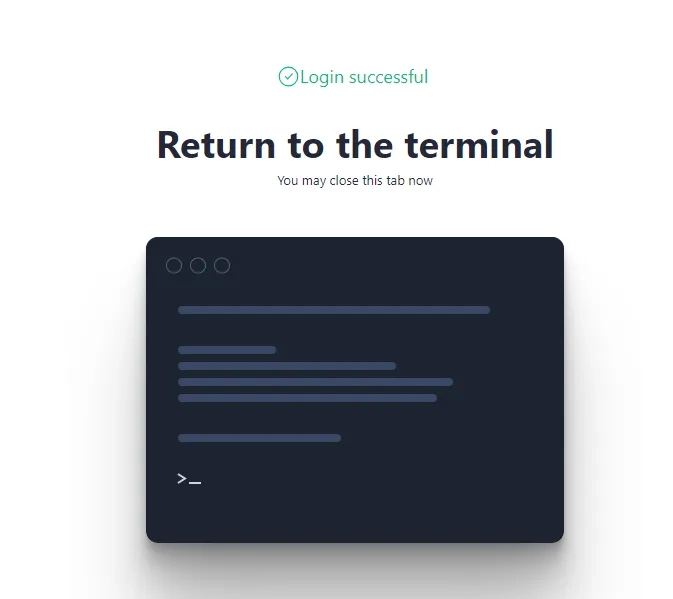
Before you begin, you might be asked to log into your account if you haven’t signed into the CLI before. If that does occur, select the same provider you used to create your Sanity account. If successful, you will be presented this screen in your browser.

You will see some prompts that will ask you to name the project along with a few other request that you may follow or alter as seen in the images below.


Step 2: Creating our Blog Schema
Once your project is initialized, changed to the projects directory, and have opened the schema view the schemaTypes folder and open the index.js file. It should look something like this.
export const schemaTypes = []Now we can start creating the blog schema.
Start by creating a file in the schemaTypes folder named blog.js and import {defineField, defineType} from ‘sanity’. Then create the define the type blog while creating its name, title and stating its type and also leave an empty space for fields.
import {defineField, defineType} from 'sanity'

export const blog = defineType({
  name: 'blog',
  title: 'Blog',
  type: 'document',
  fields: [

  ],
})
The first field we will define is Title which will be a string.
import {defineField, defineType} from 'sanity'

export const blog = defineType({
  name: 'blog',
  title: 'Blog',
  type: 'document',
  fields: [
	  defineField({
      name: 'title',
      title: 'Title',
      type: 'string',
    }),
  ],
})
Next is the Description which will also be a string and Main Image which will be set to obviously a stri…. an image type.
import {defineField, defineType} from 'sanity'

export const blog = defineType({
  name: 'blog',
  title: 'Blog',
  type: 'document',
  fields: [
	  defineField({
      name: 'title',
      title: 'Title',
      type: 'string',
    }),
    defineField({
      name: 'description',
      title: 'Description',
      type: 'string',
    }),
    defineField({
      name: 'mainImage',
      title: 'Main image',
      type: 'image',
    }),
  ],
})
Then the slug of the blog which ill be set a slug with the option of generating the slug based on what is currently proved in the title (ex. Muffins are just healthy cupcakes would turn into muffins-are-just-healthy-cupcakes).
import {defineField, defineType} from 'sanity'

export const blog = defineType({
  name: 'blog',
  title: 'Blog',
  type: 'document',
  fields: [
	  defineField({
      name: 'title',
      title: 'Title',
      type: 'string',
    }),
    defineField({
      name: 'description',
      title: 'Description',
      type: 'string',
    }),
    defineField({
      name: 'mainImage',
      title: 'Main image',
      type: 'image',
    }),
    defineField({
      name: 'slug',
      title: 'Slug',
      type: 'slug',
      options: {
        source: 'title',
        maxLength: 96,
      },
    }),
  ],
})
The main content provided in blogs (like the one you are reading right now) are usually written in Rich Text which allows for different formatting of text, H1, H2, P, Quote, Bolding, etc and to create that here we will be using block content. For now we will still define the field under the name Blog Text which is of the blockContent.
import {defineField, defineType} from 'sanity'

export const blog = defineType({
  name: 'blog',
  title: 'Blog',
  type: 'document',
  fields: [
    defineField({
      name: 'title',
      title: 'Title',
      type: 'string',
    }),
    defineField({
      name: 'description',
      title: 'Description',
      type: 'string',
    }),
    defineField({
      name: 'mainImage',
      title: 'Main image',
      type: 'image',
    }),
    defineField({
      name: 'slug',
      title: 'Slug',
      type: 'slug',
      options: {
        source: 'title',
        maxLength: 96,
      },
    }),
    defineField({
      name: 'blogText',
      title: 'Blog Text',
      type: 'blockContent',
    }),
  ],
})
There is one issue here. The type blockContent does not exist. We will have to create it, to do that we will need to create another file in the schemaTypes folder and name it blockContent.js and input the code provided below (I will not be going over all of this here).
import {defineField, defineType} from 'sanity'

export const blockContent = defineType({
  title: 'Block Content',
  name: 'blockContent',
  type: 'array',
  of: [
    {
      title: 'Block',
      type: 'block',
      styles: [
        {title: 'Normal', value: 'normal'},
        {title: 'H1', value: 'h1'},
        {title: 'H2', value: 'h2'},
        {title: 'H3', value: 'h3'},
        {title: 'H4', value: 'h4'},
        {title: 'Quote', value: 'blockquote'},
      ],
      lists: [
        {title: 'Bullet', value: 'bullet'},
        {title: 'Numbered', value: 'number'},
      ],
      marks: {
        decorators: [
          {title: 'Strong', value: 'strong'},
          {title: 'Emphasis', value: 'em'},
          {title: 'Underline', value: 'underline'},
          {title: 'Strike', value: 'strike-through'},
        ],
        annotations: [
          {
            title: 'URL',
            name: 'link',
            type: 'object',
            fields: [
              {
                title: 'URL',
                name: 'href',
                type: 'url',
              },
            ],
          },
        ],
      },
    },
    {
      type: 'image',
      options: {hotspot: true},
    },
  ],
})
Once that’s completed, move over to the index.js file and import the files we have just created and place them in the schema type array.
import {blog} from './blog'
import {blockContent} from './blockContent'

export const schemaTypes = [blog, blockContent]
Step 3: View and Edit your Content with Sanity Studio
To get your content live in Sanity, specifically Sanity Studio, you will need to deploy the project. Head over to your terminal in the same directory as your project and input the command:
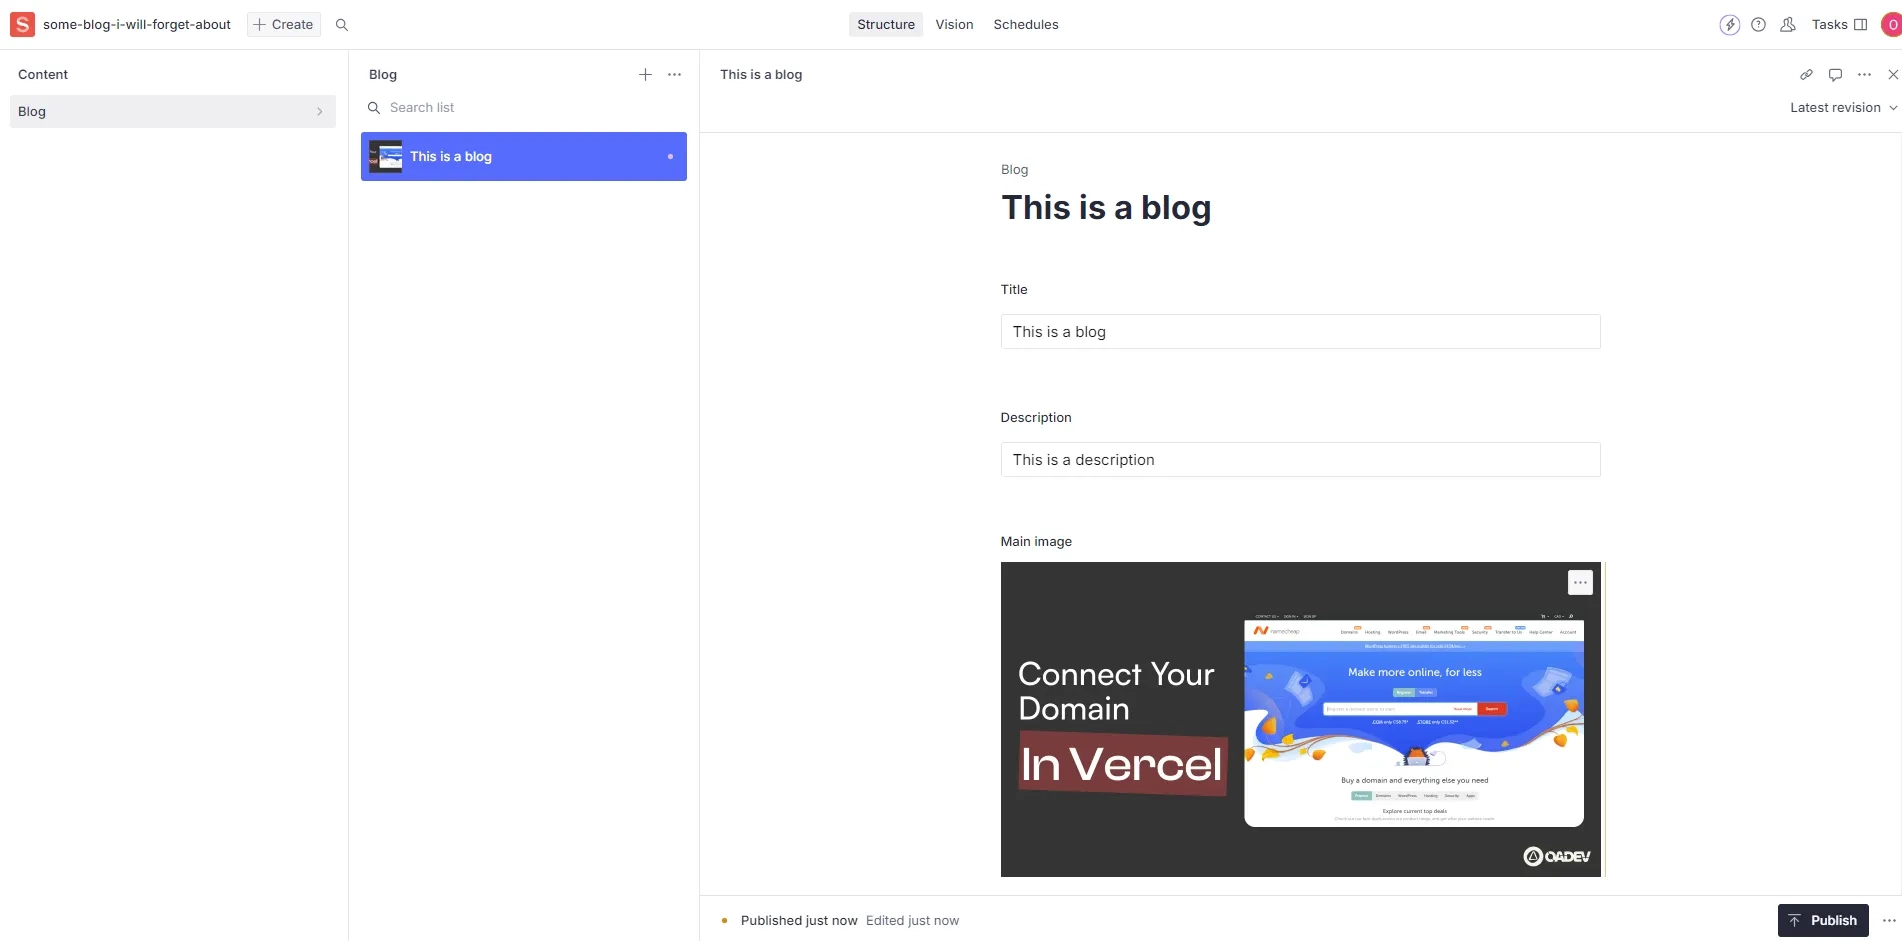
sanity deployAgain you will be prompted to provide information that is required but once it is complete you will be provided with a link to access Sanity Studio.

That’s it! Now you have a fully functional Sanity project but how do you pull this information into your Next.js app? While I go over that here How to create a blog using Sanity and Next.js