Next.js | September 28, 2024 | 3 mins read
Host your Next.js app on Vercel
Your website needs a better home than your localhost. Get that todo app out in world wild web.

So you got your website or web application finished and ready to go live or you just want to test if your website will work post deployment. Well this is how you get it done on Vercel.
Step 1: Getting your project on GitHub
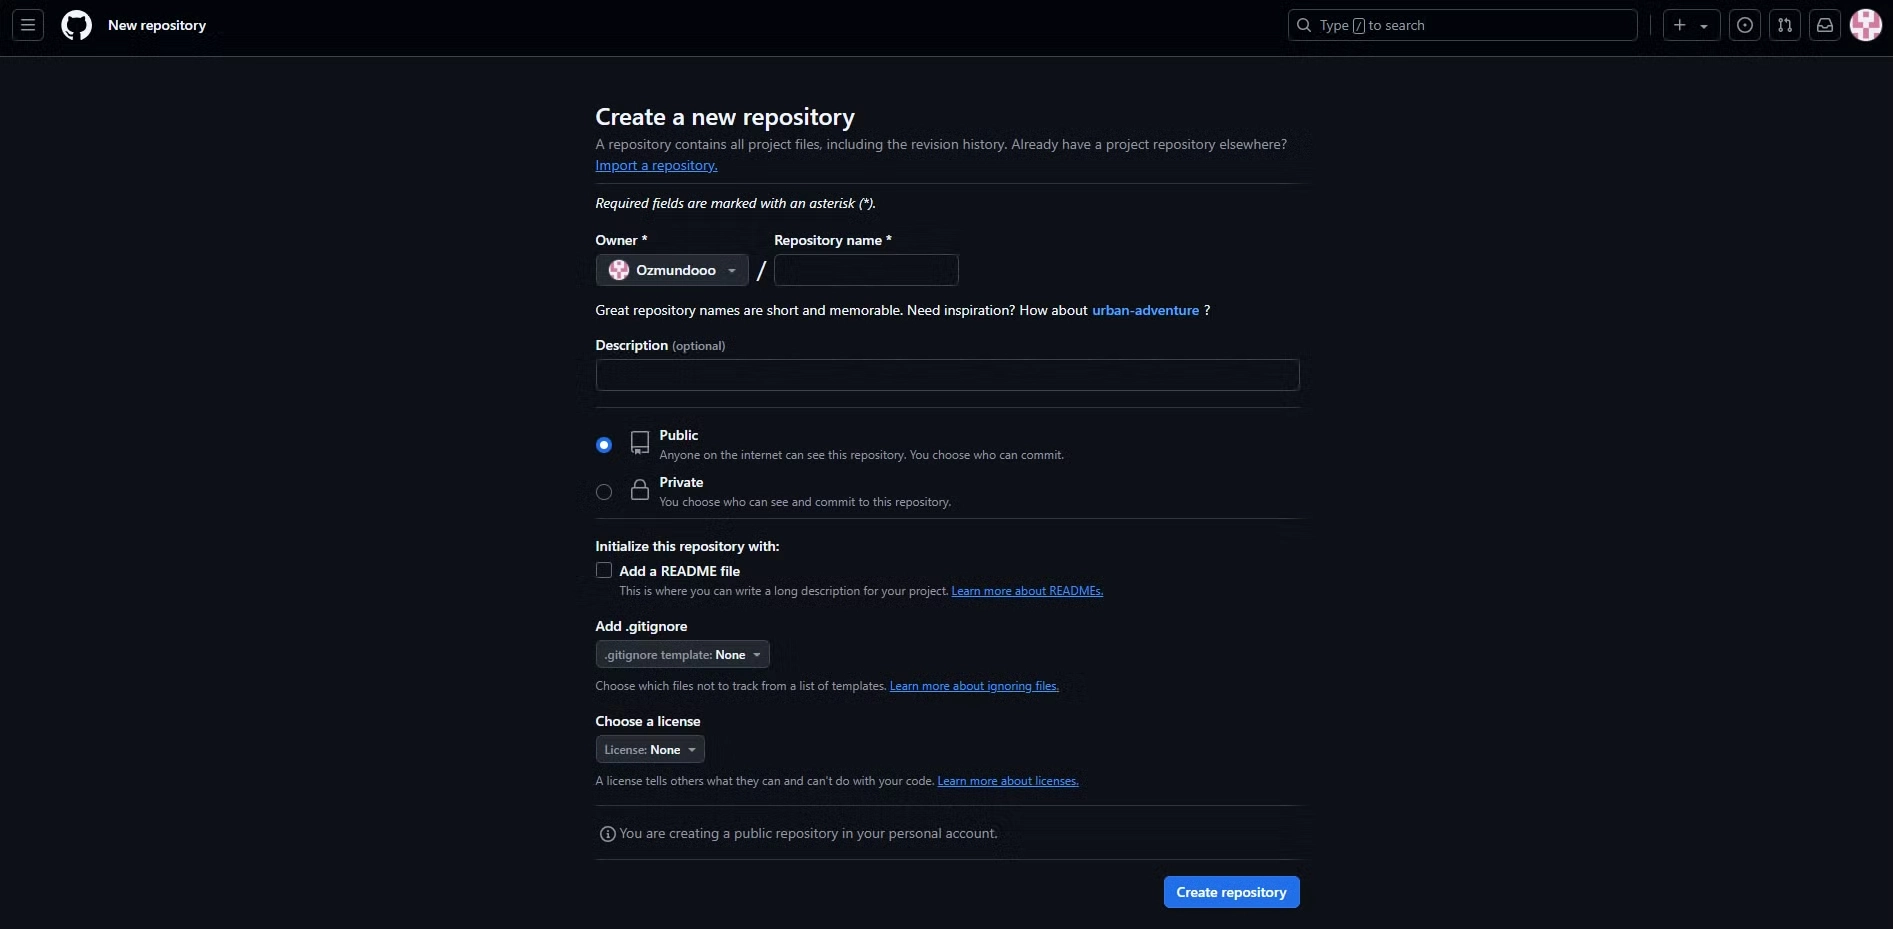
Assuming you have a GitHub account, you will need to create a Repository .

Click the blue “New” button on the left

Fill out the form with the required information
echo "# {Your-Repo-Name}" >> [README.md](<http://readme.md/>)
git init
git add [README.md](<http://readme.md/>)
git commit -m "first commit"
git branch -M main
git remote add origin [<https://github.com/Ozmundooo/{Your-Repo-Name}.git>](<https://github.com/Ozmundooo/HowToDeploy.git>)
git push -u origin main
Now to get your code into your GitHub Repository, place the code provided into your command line or bash and replace {Your-Repo-Name} with your Repository’s name. Also ensure you are in your projects directory.
Step 2: Create a New Vercel Project
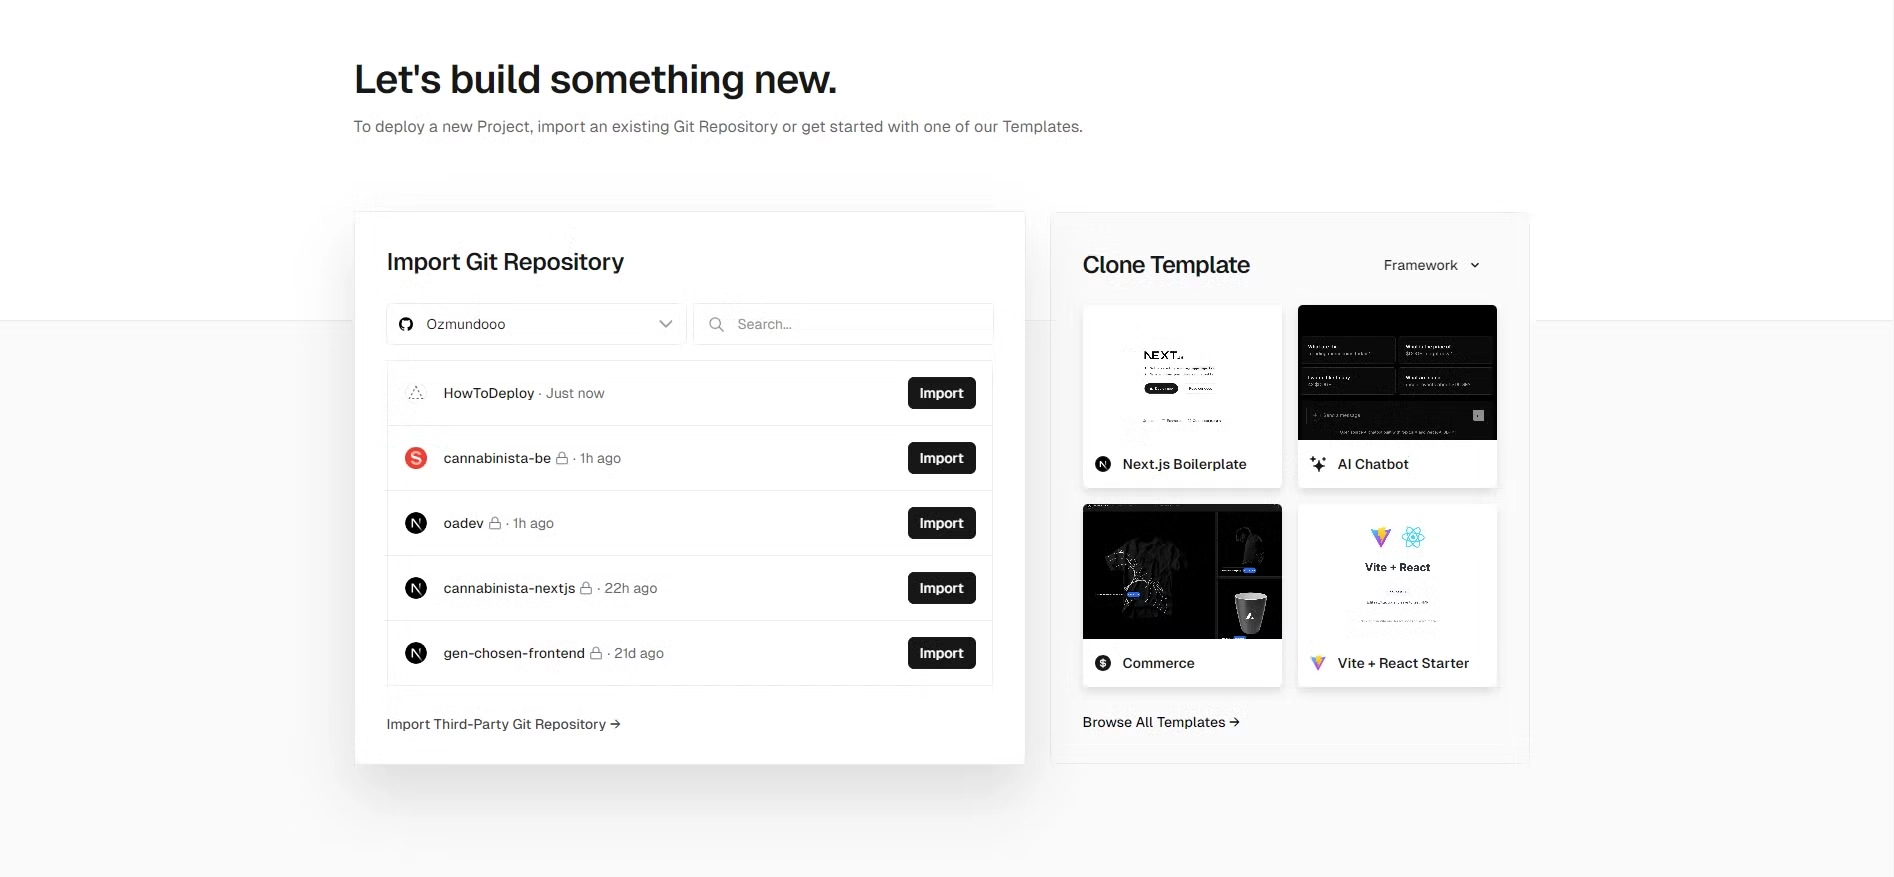
Assuming you are signed into Vercel using your GitHub Account, when you access your Vercel account you should see a page that looks something like this

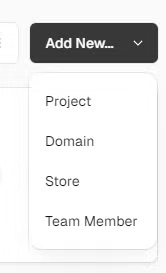
Click the black button on the right, “Add New” and select project

A list of your most recently modified GitHub repositories should open. You can either select from that list or search got your project. Once you have found the project you want to deploy, click the “Import” button to the right of the project.

You can make modifications to the project (ex. Environment Variables, Git Branch of choice, etc) but in this case we will just deploy it in its current state. Click the big “Deploy” button.
Congrats!! It’s done, your website is up and live, ready to been seen by all that know its domain…. but how do we change that domain? Well, you can learn all bout that here in my next resource How to connect a domain to your Vercel website.